Fuel Injecting a Classic Mini
It's been some time since I released the Classic Mini DIY fuel-injected throttle body line in my store. If you haven't seen those yet, I would suggest you go take a look! I have taken it upon myself to start working towards modernizing my Classic Mini and sharing my experience with the world on how you may be able to do that with your cars. With the youtube videos I am creating I decided it would be wise for me to take some time and write up a few guides on the different parts of a fuel injection system.
Below you will find a (relatively) comprehensive list of the parts and things you may need to accomplish this on your own car. If you are keen to do this to your car, start here as we go through the various aspects of a conversion like this. Strap in and get ready. It's time to learn about EFI and the Classic Mini.
Table of Contents
- Fuel Injecting a Classic Mini
- Table of Contents
- Why would I want to fuel-inject my old Mini?
- What parts will I need?
- Conclusion
Why would I want to fuel-inject my old Mini?
This is a question I receive a lot concerning this type of project.
- What's wrong with the carb?
- What's the point?
- Why would you want to put all those wires in there?
- And on, and on...
The truth is a carburetor is the simplest way to run your car. That said it is far from the most reliable, most efficient, and highest-performing way to run your car. A whole technical article could be written purely on why EFI is objectively better than a carburetor in almost every way but we won't get too far into that in this article.
Fuel injection will solve a few primary things
- Optimize fueling so you are always burning as efficiently as possible
- Control your timing to pull out all the horsepower in your engine
- Increase reliability as it scales with weather conditions
- Decrease failure points (yes I know this is counter-intuitive)
What parts will I need?
With that background out of the way, let's get into the meat and potatoes. What exactly will you need to fuel inject your mini, and where can you get it? Some items below are offered directly in my store, while others are items you must source yourself. I will do my best to make this as easy as possible. But should you have any questions feel free to reach out classicminidiy@gmail.com
EFI Carburettor Replacement - EFI Throttle Body
The first thing you will need is a way to deliver fuel and manage your throttle opening. This is the most mechanically complicated portion of the conversion process and will directly replace your carburetor. For this, there are two primary options that will directly bolt on.
Note: I will not be covering cross-flow cylinder heads or their fuel injection throttle bodies in this article.
Option 1 - Cable Driven Throttle Body
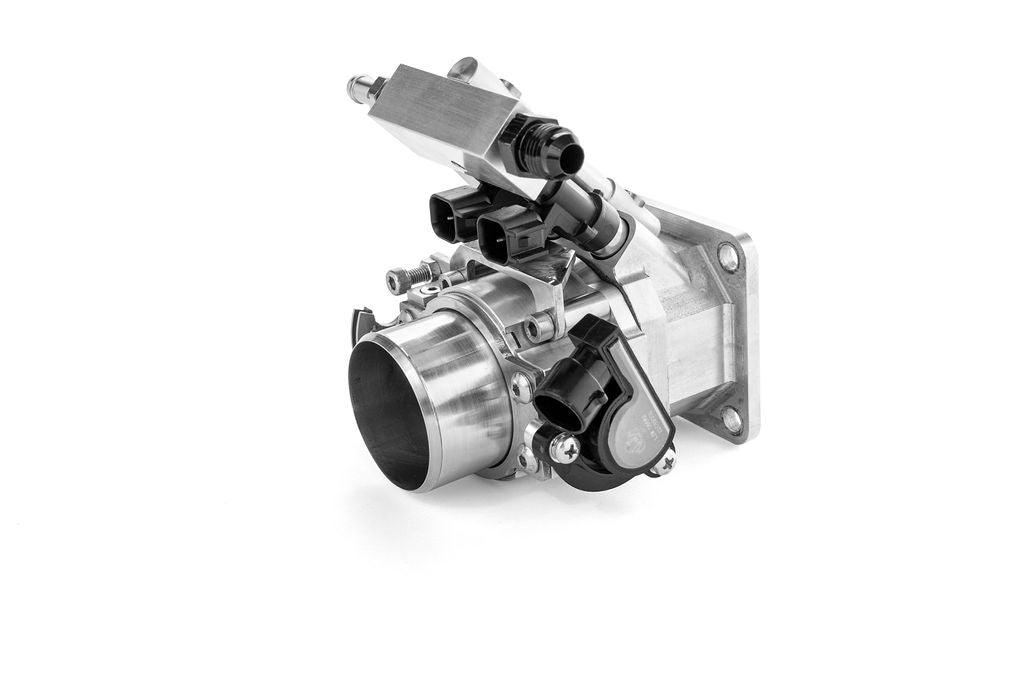
The simplest solution is to install a cable-driven throttle body. This will provide you the ability to easily connect your existing throttle cable. This simplifies the swap but doesn't yield all the advanced features that option 2 provides such as idle control, cruise control, and more. Classic Mini DIY offers the most affordable CNC unit on the market. It comes with a built-in Throttle Position Sensor and the wiring pigtail to connect it to your ECU.
Order yours here: CMDIY Cable Throttlebody
Option 2 - "Drive by Wire" Throttle Body
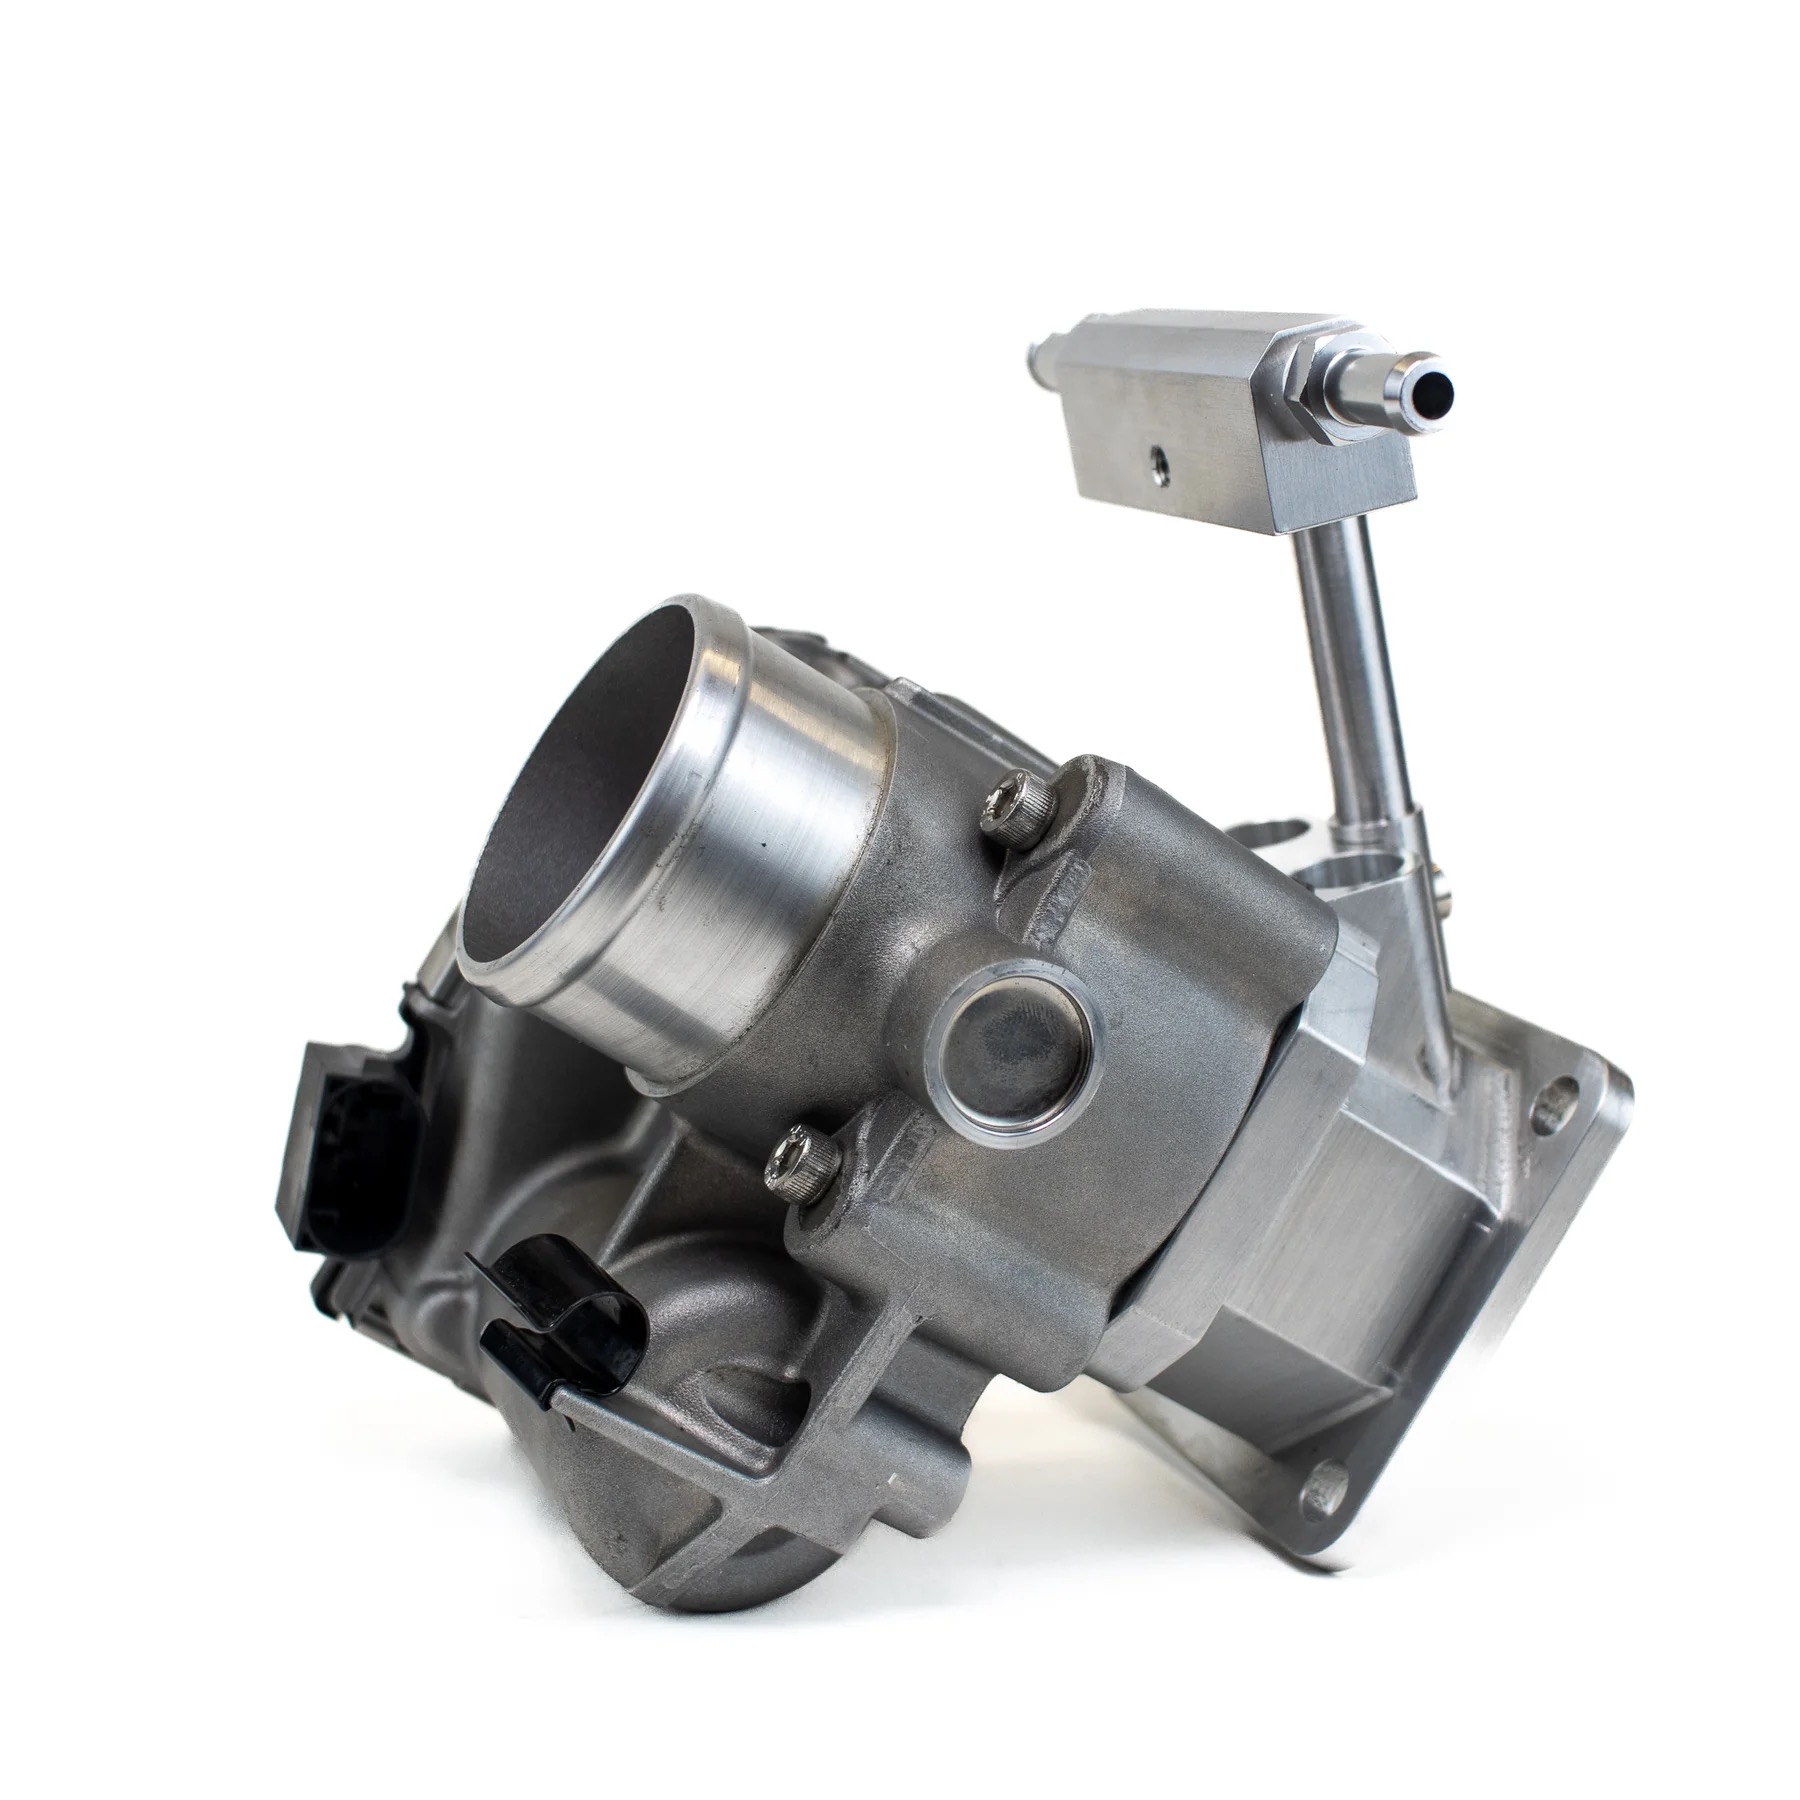
The more advanced but significantly more feature-rich solution is a Drive by Wire setup. This would require an electronic pedal and an ECU that supports this setup. However, the benefits of this setup include things like full automatic idle control, launch control, cruise control, custom throttle curves and more.
Order yours here: CMDIY Drive by Wire Throttlebody
Crank Position Sensor
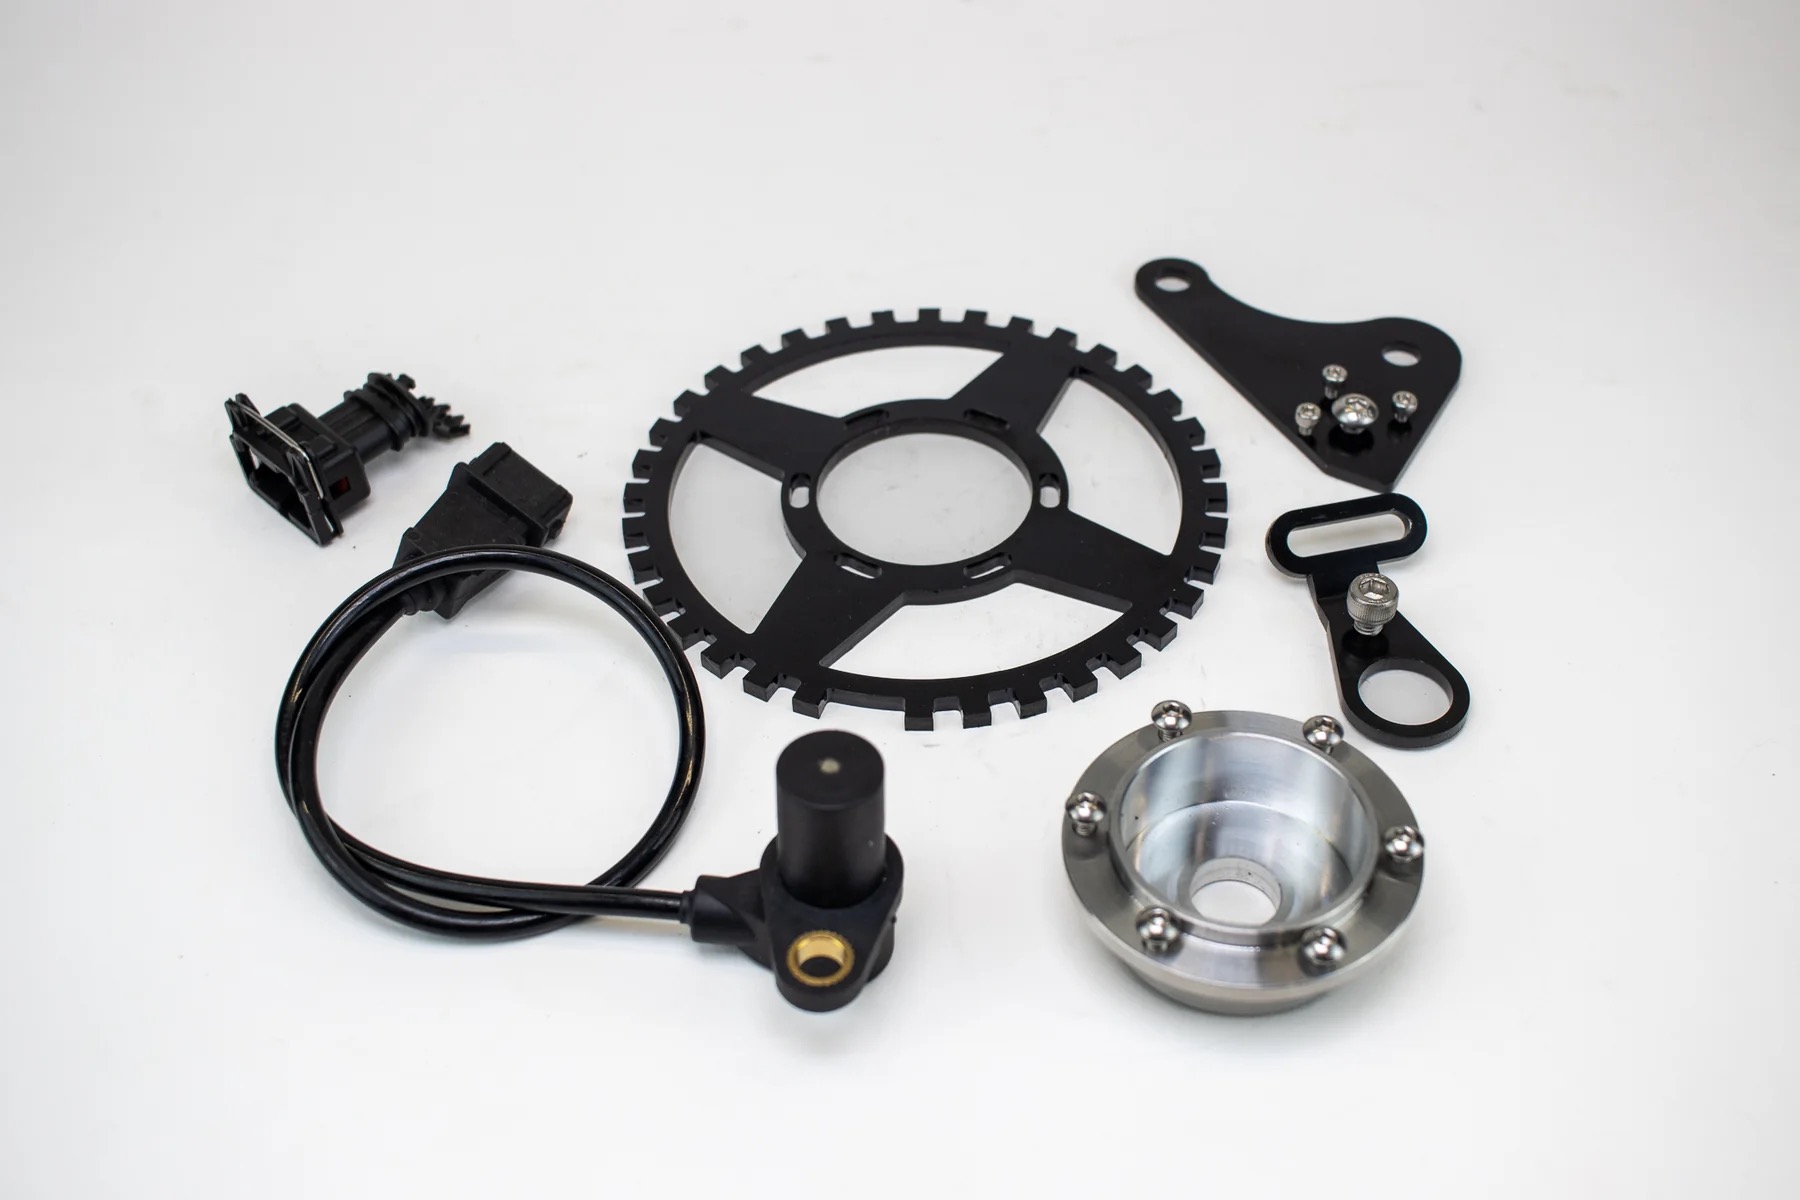
After the throttle bodies, the next important piece of hardware will be your Crankshaft Position Sensor. This small sensor and bracket system will tell your ECU where your engine is in its rotation. This is absolutely essential for your ECU to properly understand when to fire the spark plugs.
Order yours here: Classic Mini DIY Crank Sensor Kit
Coilpack Ignition Coil
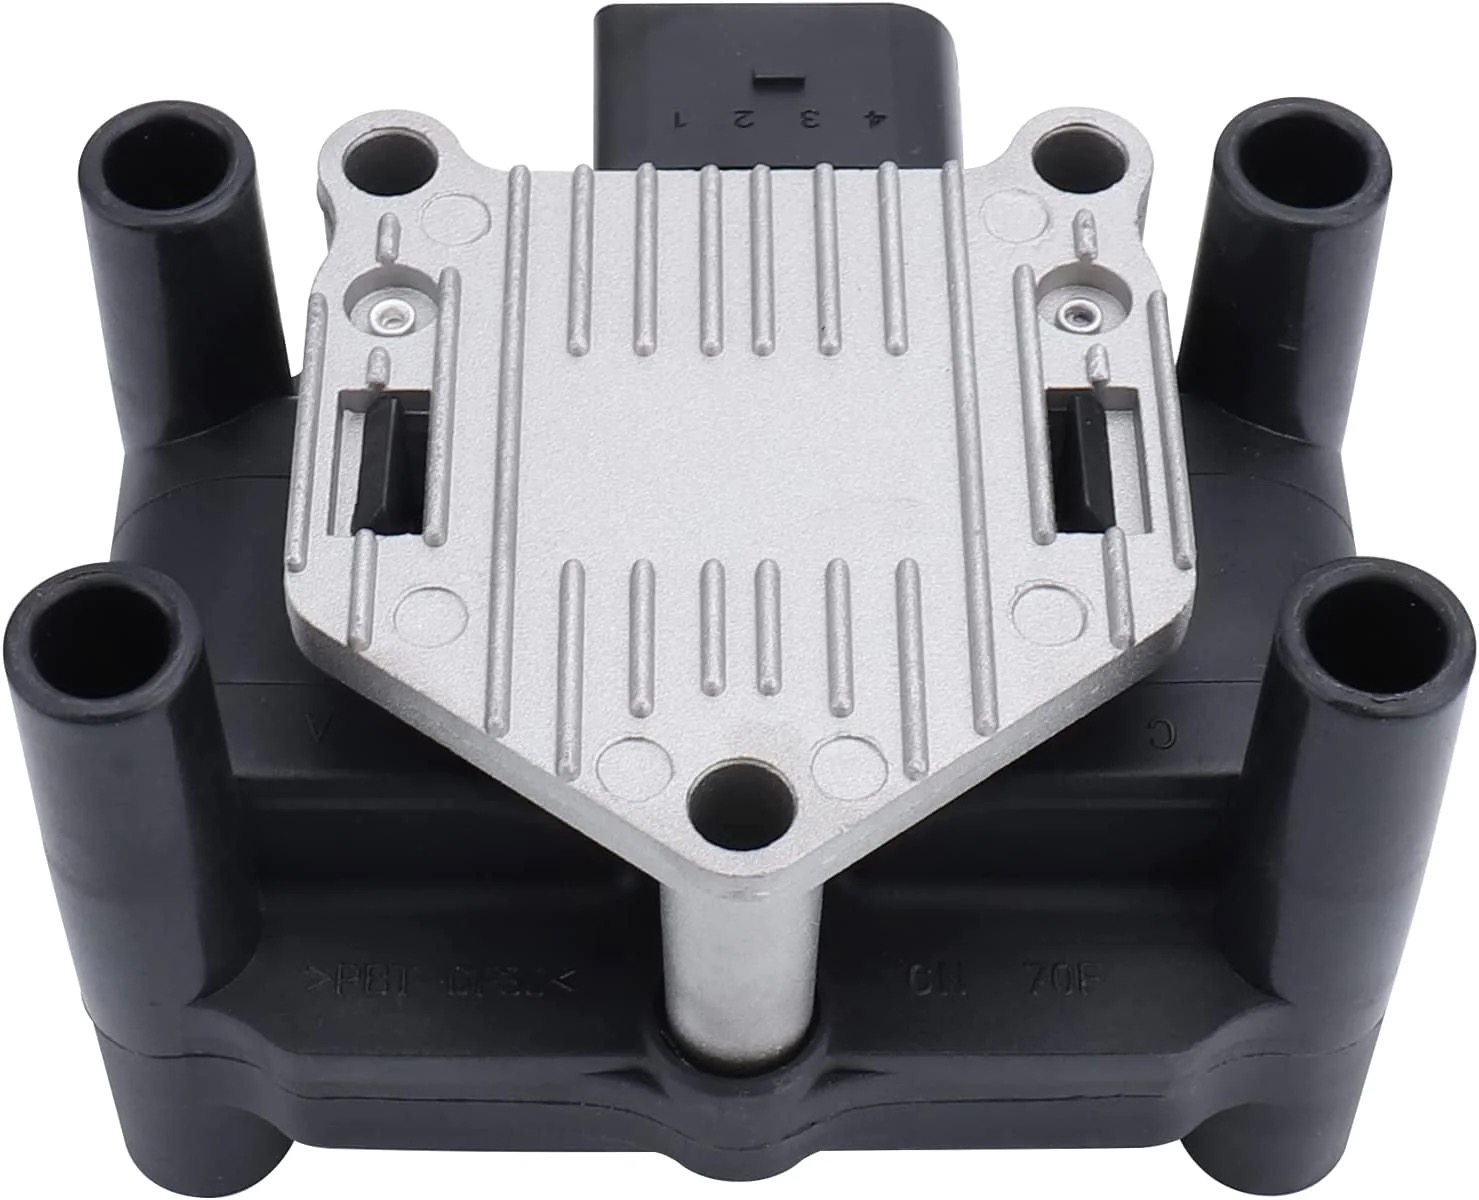
In a distributor system, your distributor combined with an ignition coil handles the job of firing your spark plugs. With a fuel injection system, you need something a bit more sophisticated to get the job done. That is where the Coilpack comes in. This gets connected to your ECU and allows uniform and reliable firing of your spark plugs using its built-in ignitor.
Order yours here: Bosch VW Coilpack
The ECU (Engine Control Unit)
With the large variety of ECUs on the market, Which ECU should I get? is the question I get asked the most. The short answer to this question is, "The one that offers you all the features you need for your setup". However, this answer is obviously not very helpful. So below I have put together a table of ECUs and the features they offer compared to what you may need for your setup. All the ECUs below will run an A-Series engine with varying degrees of complexity.
| Brand | Model | DBW | Support | Base Map |
|---|---|---|---|---|
| Haltech | Elite 750 | ❌ | 👍 | ✅ |
| Haltech | Elite 1500 | ✅ | 👍 | ✅ |
| Haltech | Nexus R3 | ✅ | 👍 | ✅ |
| Emerald | K6 | ❓ | 👍 | ✅ |
| Speeduino | DIY | ✅ | DIY | ✅ |
| MegaSquirt | DIY | ✅ | DIY | ✅ |
| Specialist Components | Delta 400 | ❌ | 👎 | ❌ |
| Specialist Components | Delta 700 | ✅ | 👎 | ❌ |
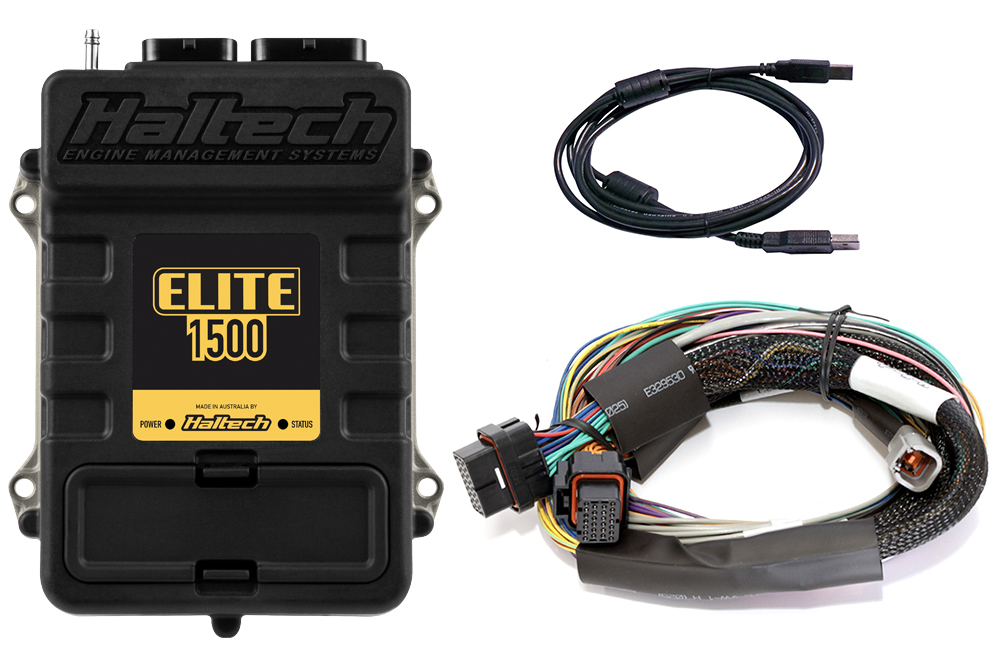
Now this is not a comprehensive list of every ECU on the market. But these are the common ECUs I see people using in their Minis these days. My top pick for the Classic Mini owner is by far the Haltech Elite 1500 with Wiring Harness. This will sort out almost every EFI conversion I come across and they offer unparalleled support for their hardware via phone/email/chat.
Order yours here: Halech Elite 1500
Intake Air Temp Sensor
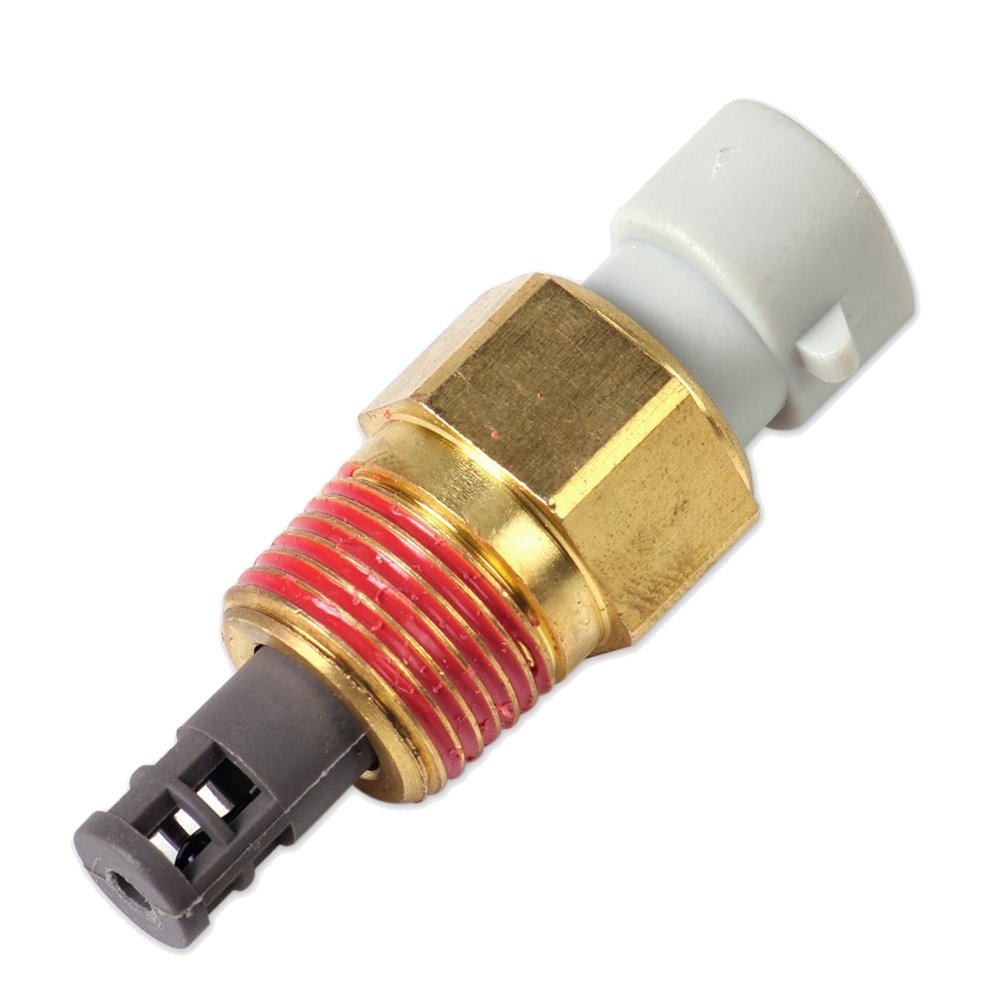
This reads the temperature of the air coming into the engine so that the amount of fuel can be adjusted accordingly. In NA installs, this can go before the throttle body or in the air filter housing. In turbo applications, make sure this is mounted after the turbo and anything that will modify temperature (Intercooler, Water/Meth injection). This should also be after the throttle body in single-throttle body applications.
Order yours here: Air Temp Sensor
Coolant Temp Sensor
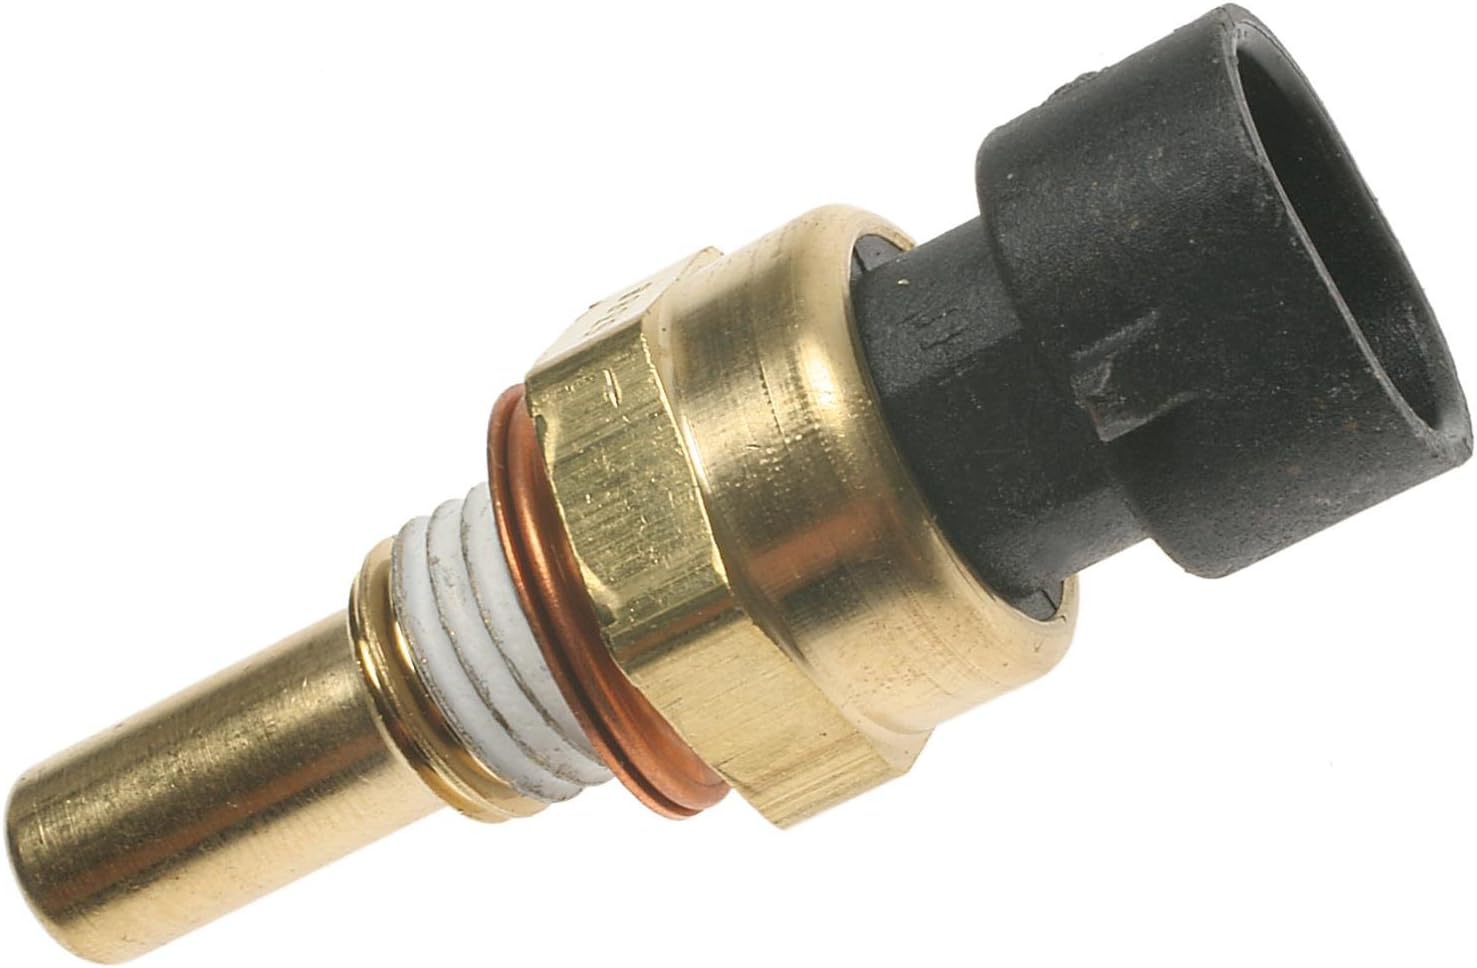
This sensor reads the temperature of the engine. In a Classic Mini, the best placement for this is directly in the thermostat housing. S-CAN (formerly DSN Retrosport) sells an excellent thermostat housing that supports the attachment of an M10 x 1 coolant temp sensor. This can be run in addition to your original factory item that is mounted directly to the cylinder head.
Order yours here: Coolant Temp Sensor
MAP(Manifold Absolute Pressure) Sensor

MAP is used to provide engine load information in the form of a vacuum signal to the ECU. It requires a vacuum reference from a port after the throttle plates. This fuel control method is known as SD or Speed Density and also uses intake temperature to calculate the fuel needed. This is my favorite way to map a car. In the Mini, I attach this to the intake manifold via a T-Pipe off the brake booster circuit.
Order yours here: 3 Bar Map Sensor
Wideband O2 Sensor (Air Fuel Ratio)
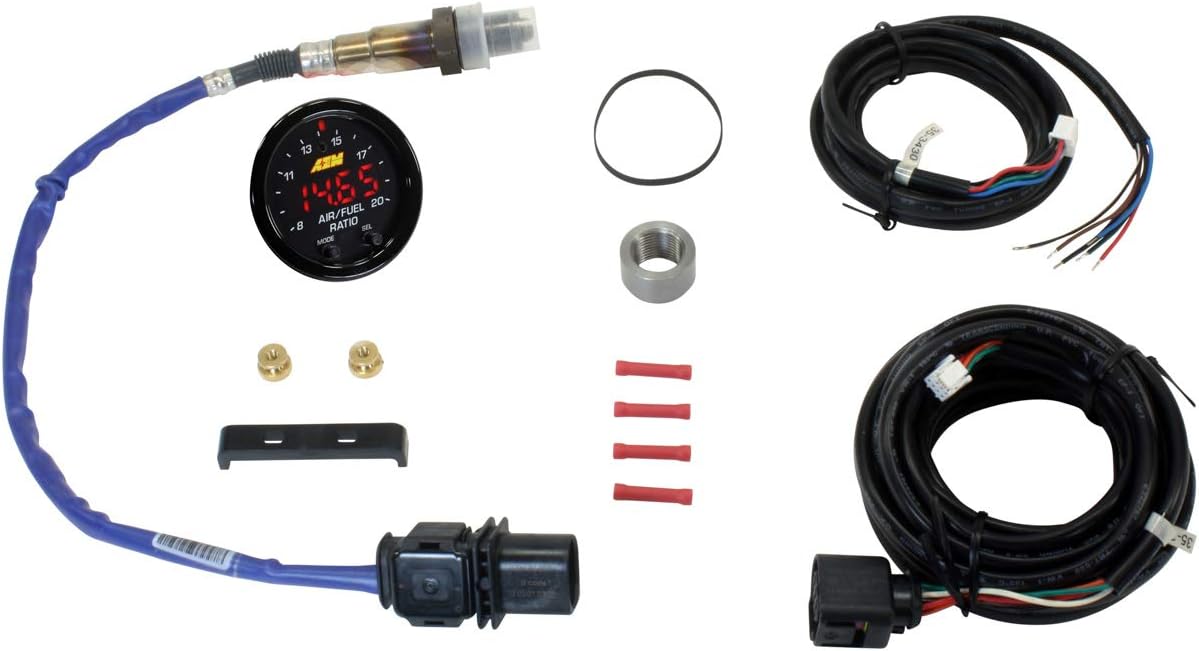
The final component to complete all of the sensors your ECU will need to understand the state of the cars is a Wideband O2 Sensor. These are also called Air Fuel Ratio gauges, or AFR sensors. This sensor is sniffing the exhaust as it exits the car and measures the amount of fuel present in that air. This creates a lambda value or a ratio percentage your ECU will use to adjust the amount of fuel it should be firing into the intake.
This sensor will require you to weld in a bung on your exhaust, which will allow you to screw in this new sensor. Depending on your setup it will need to be welded in at a specific location.
- NA Engines - Weld in after all 3 output branches from the engine
- Turbo engines - Weld in approx 5-6 inches after the hot side of the turbo on the downpipe.
Order yours here: AFR Sensor with Output to ECU
Conclusion
This is a high level of the core hardware you need to get started on your EFI journey. In the next article, we will be covering fuel systems and the parts/supplies you need to build out that portion of your build.
